Now I realise that I'm a bit late in getting this post up, seeing as most schools and pre-schools have already finished for the summer. Doh! But Wiss is at a private day care nursery and isn't finishing for another 2 weeks yet, so forgive my bad timing please.
I really wanted to give the staff who have looked after him for the last few years a little something to say thank you very much. I also thought it would be good if Wiss could help make the presents too. I was thinking about making chocolates using a mould like this one, but I thought that teachers always get chocolates (plus it has been so hot in London that I didn't think they'd last!)
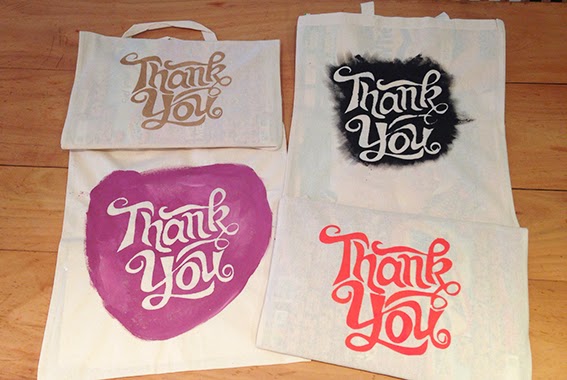
So...Tote Bags it is! They will last longer than chocolates, and be useful at the same time. I bought these plain bags from eBay, but you could equally make your own if you wanted to.
How to Make a Thank You Tote Bag:
You will need: plain tote bag, freezer paper, fabric paints, fabric pens (optional)
If you have never used freezer paper before prepare to be amazed! This stuff is brilliant. You can buy it online and it is basically American waxed paper, used for freezing food. However, the waxed side sticks to fabric when it is lightly ironed in place and makes the perfect stencil. Then it can simply be peeled off once the paint is dry. Easy!
So first, trace out your stencil onto the freezer paper and carefully cut it out using a scalpel or sharp craft knife. This can take a while depending on your design but if you cut exactly you get two stencils for the price of one - a positive, and a negative! Iron these into place with a warm iron.

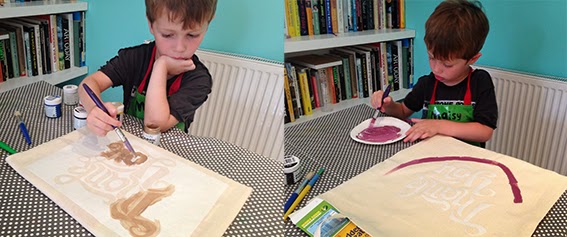
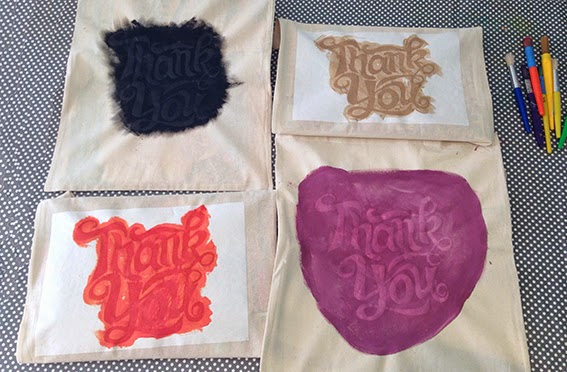
Now comes the fun bit (I know Wiss doesn't look like he's having that much fun but this is just his concentrating face, honest!) Put some scrap cardboard (like old cereal packets) inside the bags to prevent the paint from leaking through to the other side. Paint over the stencils using fabric paint (we used Dylon in little pots but any fixable fabric paints will do.) You can go as crazy or as simple as you like...
Once all the fabric within the stencil has been covered leave them to completely dry.
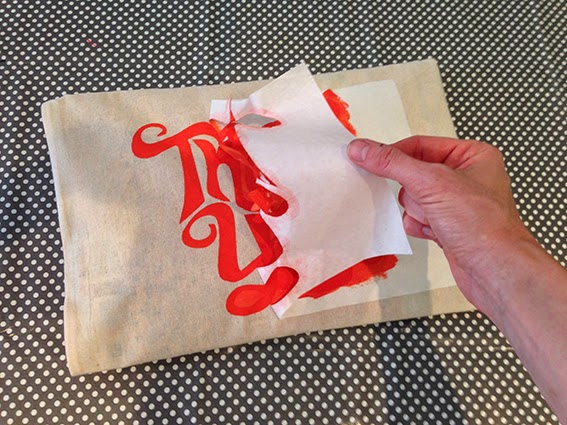
When the paint is totally dry you can peel off the freezer paper to reveal your design underneath.
Refer to the fixing instructions on the paint you have used - a very hot iron for a minute or two, with a clean cloth over the design fixes Dylon fabric paint. And voila! You have your thank you tote bags.
They look fab as they are but I think they would look more personal with a little message from Wiss added to them: "from Lewis x" for instance. Using fabric pens you can add extra decoration, names or a handwritten message.
Have you made any Thank You presents for your child's teachers? If so, I'd love to hear all about them. Leave a comment or link in the box below, or you can tweet me @thisiswiss And if your kids have already left school for the summer, enjoy! :)
No comments:
Post a Comment
I love to hear from you and really appreciate you taking time out to leave comments. I will always try to respond to any messages so please, let me know what you are thinking...